
Install by platform
Python
Install pip install blipit
Install the blipit package and call init once with your project's public key and project id. Unhandled exceptions are reported on their own, and Django, Flask, FastAPI, Celery, SQLAlchemy and other integrations are detected automatically.
1Install
pip install blipit2Initialise at startup
For Django, put it at the top of settings.py. For Flask or FastAPI, before the app is created. Both values are on the project's Keys page.
import blipit

blipit.init(
    key="<public key>",
    project=<project id>,
    environment="production",
    release="myapp@1.4.2",
)3Get your keys
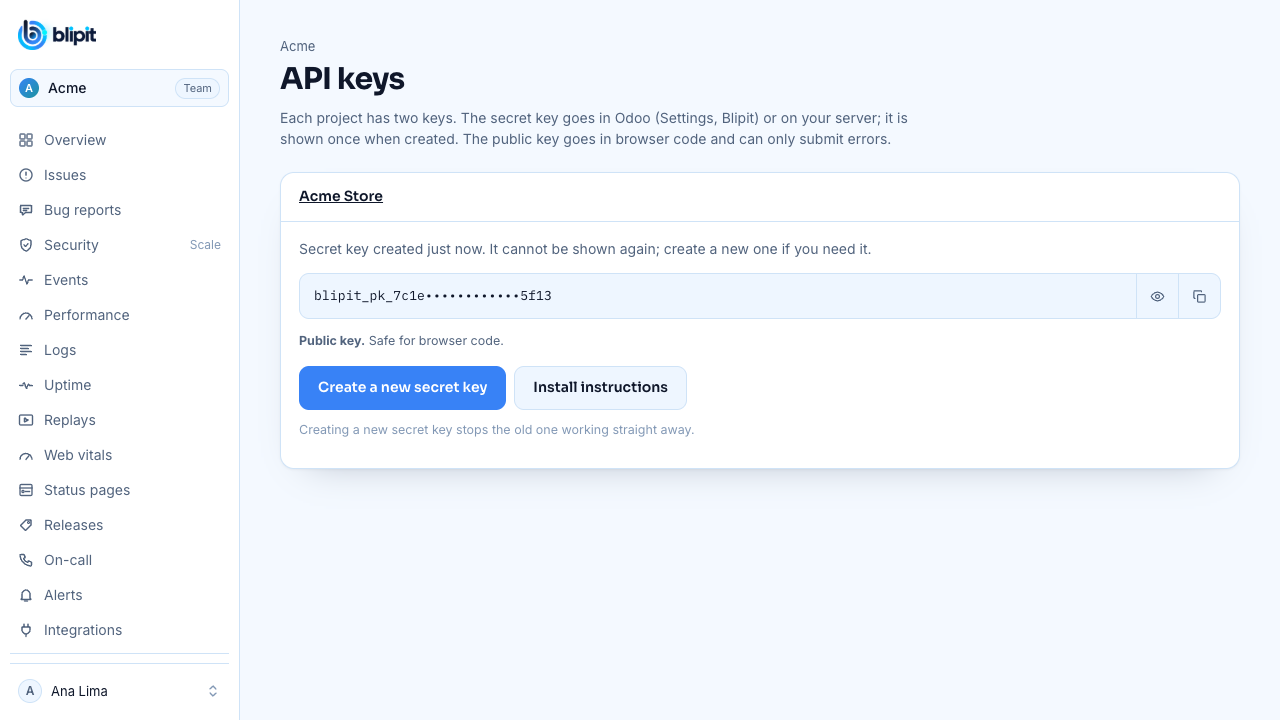
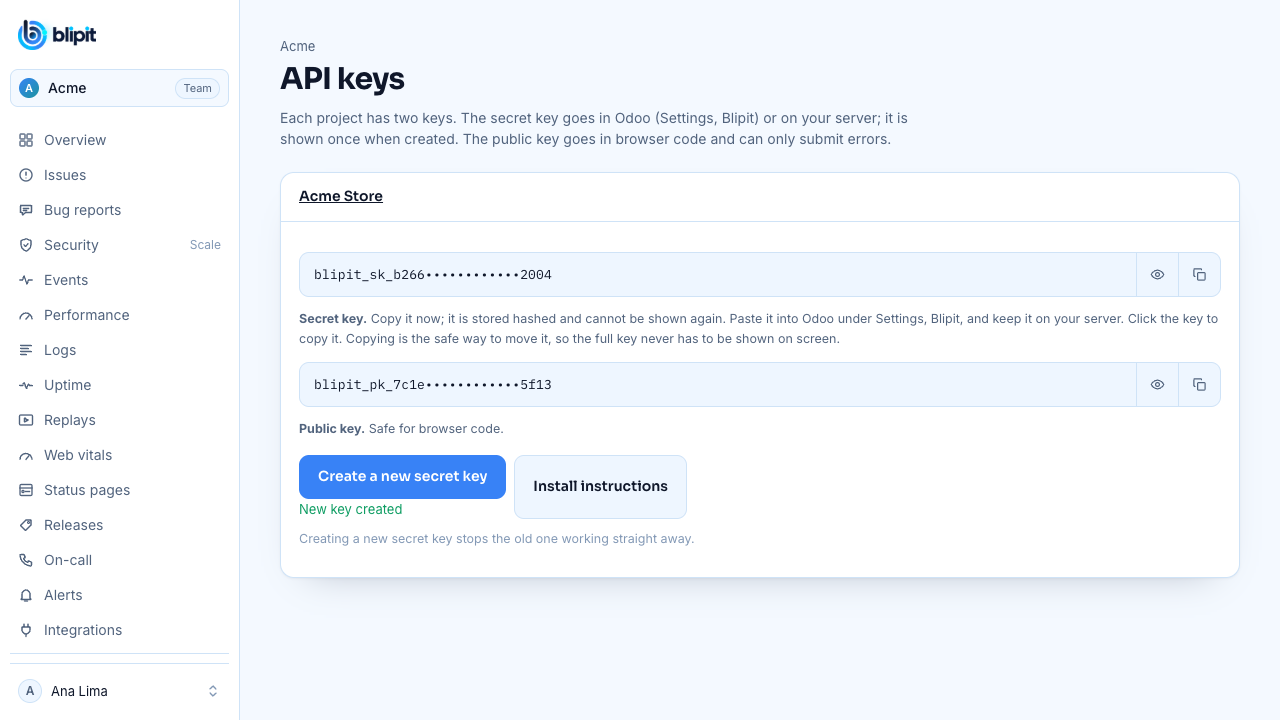
Sign in at app.blipit.io and open API keys in the sidebar, then your project. Every project has two keys. The public key starts with blipit_pk_: it goes in browser and app code, can only send events, and is safe for anyone to see. The secret key starts with blipit_sk_: it stays on your server or in Odoo, never in a browser, because it can also read and change issues. The secret key is shown only once, right after it is created, so copy it then; if you lose it, press Create a new secret key, and the old one stops working at once. Some SDKs also need the project id, shown on the same page in the DSN.
4Keep the key in the environment
This SDK sends with the public key and the project id, both on the project's API keys page. Keep them in environment variables: locally in a .env file loaded by your framework or python-dotenv, in production in your host's settings. Use the secret key only if you send login attempts.
BLIPIT_KEY=blipit_pk_your_public_key
BLIPIT_PROJECT=12import os
import blipit
blipit.init(key=os.environ["BLIPIT_KEY"], project=int(os.environ["BLIPIT_PROJECT"]))5Keep keys out of git
Keep keys in environment variables or your host's secret settings, never in code you commit, and add your .env files to .gitignore. A public key in a web page is normal. If a secret key ever ends up in git, a public page, a screenshot or a chat, open API keys, press Create a new secret key, and paste the new key wherever the old one was used: the old key stops working straight away.
.env
.env.local
.env.*.local6Manual capture and login attempts
Login attempts need the secret key: on the server, init with the secret key instead of the public one, or ingest refuses them with 403 security_needs_secret_key. Scale plan.
blipit.capture_exception(err)
blipit.capture_message("cache miss rate above 50%", level="warning")
blipit.set_user({"id": "42", "email": "ana@example.com"})
blipit.capture_security("login_failed", actor=email, ip=request.META.get("REMOTE_ADDR"), outcome="bad_password")7Check it works
Open Issues in app.blipit.io. The first event appears within a few seconds, grouped into an issue, and the people in charge get an email.
blipit.capture_message("Hello from Python")Good to know
- Odoo: do not use this; install the Blipit module from the Odoo Apps store instead. It knows Odoo's request, user and company.
- Pass traces_sample_rate=0.2 to init and requests show up on the Performance page.
- Already on sentry-sdk? It works unchanged with the DSN https://<public key>@in.blipit.io/<project id>.
- Keeping Blipit up to date: the Keeping Blipit up to date guide (docs.blipit.io/updates) explains the update banner, the emails for important releases, the notice in your development console and the update command for this platform.
Stuck? Email support@blipit.io. Keys and the exact DSN for each project are under API keys in app.blipit.io.